The New Rachel Allene Headquarters

I am so excited to finally reveal the brand new office space for my business!
In the last several months, my business grew significantly and I immediately needed more space. If you watch my Instagram stories, you probably have seen me packaging orders at all hours of the day in all different rooms in my house. The work was literally spilling into all rooms of my house. We knew we needed a solution but didn’t know what the best option was. Converting the garage was always an idea, but it seemed like so much work. The other options were doing nothing or renting a new space. And I definitely didn’t want to do that. Being able to work at home is one of my favorite things, so moving my office space somewhere else didn’t seem attractive to me.
So, we were left with one option. We (Joel and I) sat down one night, scribbled up a budget, drew out some plans, and set a few “deadlines”. My husband works about 60 hours a week and would need to do most of the work on his own, so we knew it would be a slow process that would monopolize weekends and evenings. Small investment for a great outcome.
We set a $2000 budget and got to work.
Step one:

Clean out the garage. We had a good amount of stuff to clean out and get rid of because even though my inventory wouldn’t take up all the space, we didn’t want to just put everything back in.
Step two:
Demolition. Our garage had one tiny lightbulb and a few plugs, so we needed to add some electrical. We were also considering adding insulation to one wall. But after talking to a few people and looking at our timeline we decided it wasn’t as important. So, we had to cut out a little bit of the drywall in order to do the electrical.
Author’s note: when I say “we” I am mostly talking about Joel and family/family friends who helped us.
Step three:
Permit and electrical. A family friend helped us with adding 6 can lights to the ceilng and adding some plugs where my work table would be so I could plug in printers, chargers, computers, etc.
Once the electrical was done, we could really get moving on closing up the wall and starting painting.

Step four:
Patching the walls and masking the space for painting. This was the longest part of the project. In fact, one night my husband pulled an all nighter working on getting it finished because the painter was coming the next day. Because the garage had been so ignored by us and previous owners, there was a lot of patching and wall “fixing” that needed to happen! But, it got finished in time for the painter to come!

Step five:
Painting. We are so blessed to have people in our life who were willing to bless us. My friend’s dad came to paint and it was finished within 3 hours.
Once the painting was done, it was time to clean the garage and prep all the furniture.

Step six:
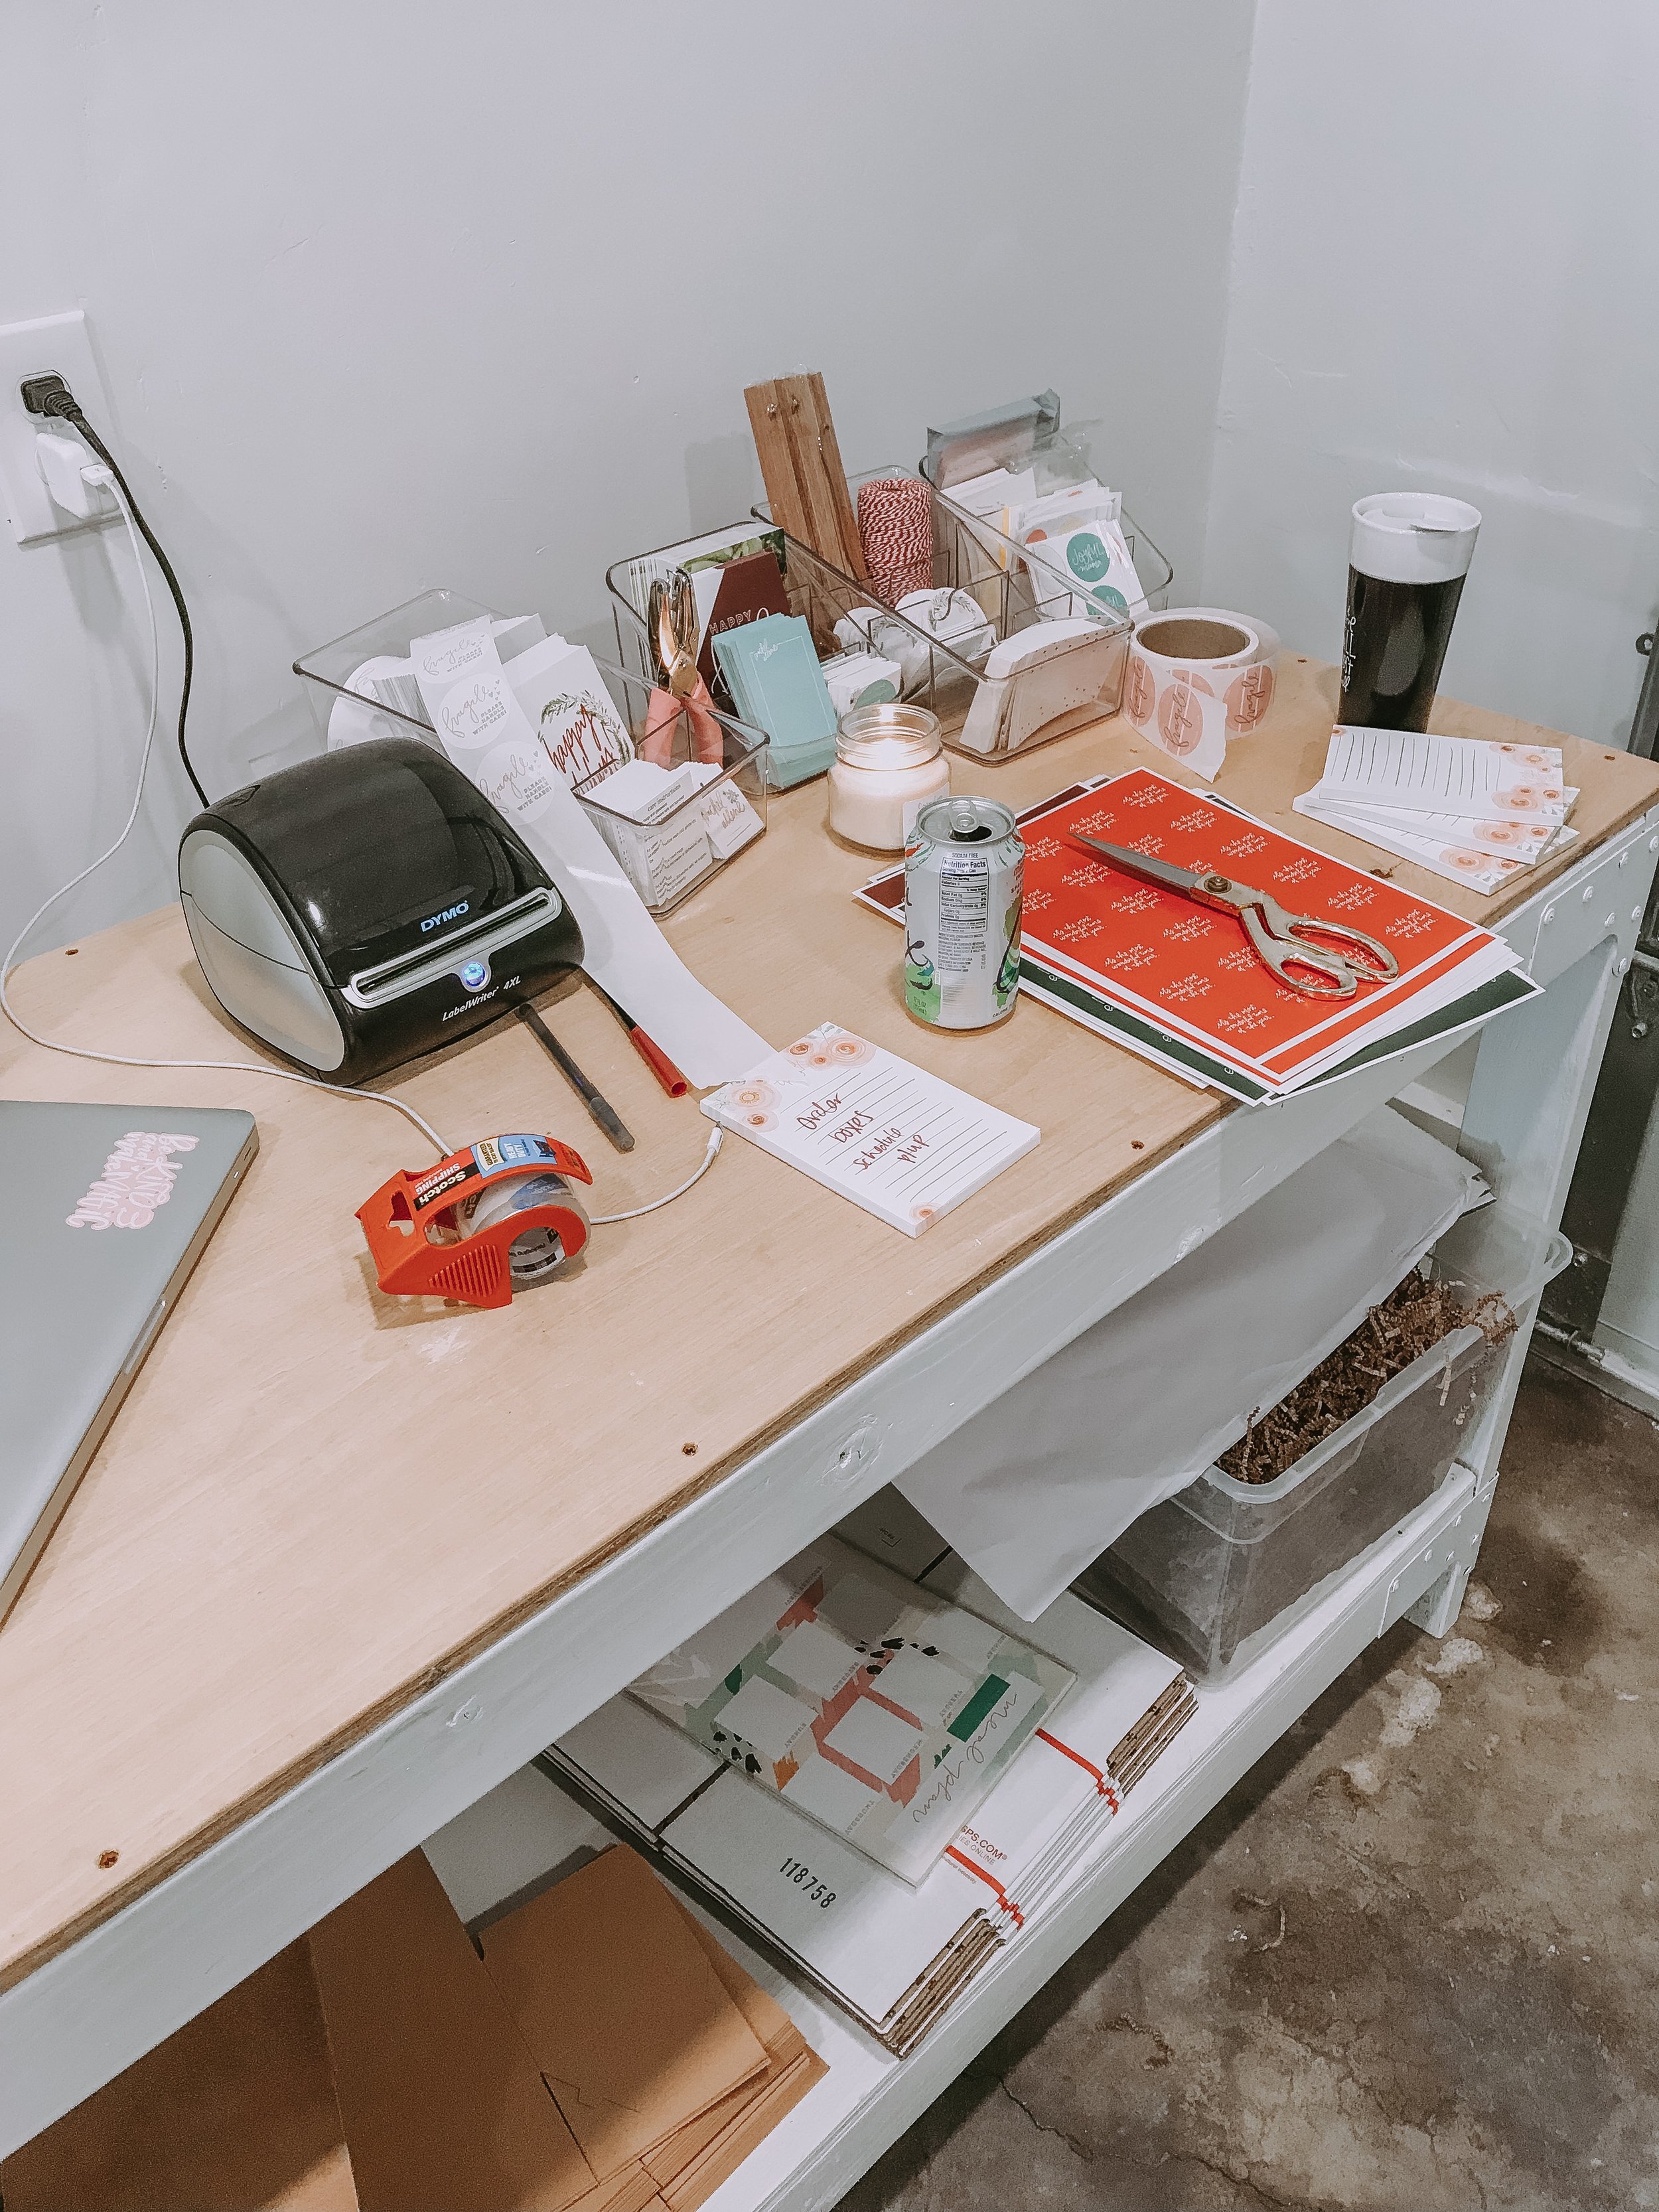
Cleaning and furnishings. Because Joel was working so much and had so much still left to work on the garage, I asked our friend Josh to help build the shelves for the workspace. We bought pieces of wood, had them trimmed to 42” and also bought stain and brackets. Josh sanded, stained, and built the shelves for us!


While we outsourced that, Joel was able to do touch up painting, clean up the painting mess and paint the work bench. The work bench was in the garage when we moved in, so Joel sanded it, painted the base, and stained the top. Since I love the rug we have inside out house, I bought the same one in a bigger size for the space.

Since Joel is incredibly thorough, he also did a very deep clean of the concrete floor. After that, it was time to move in!
Step seven:
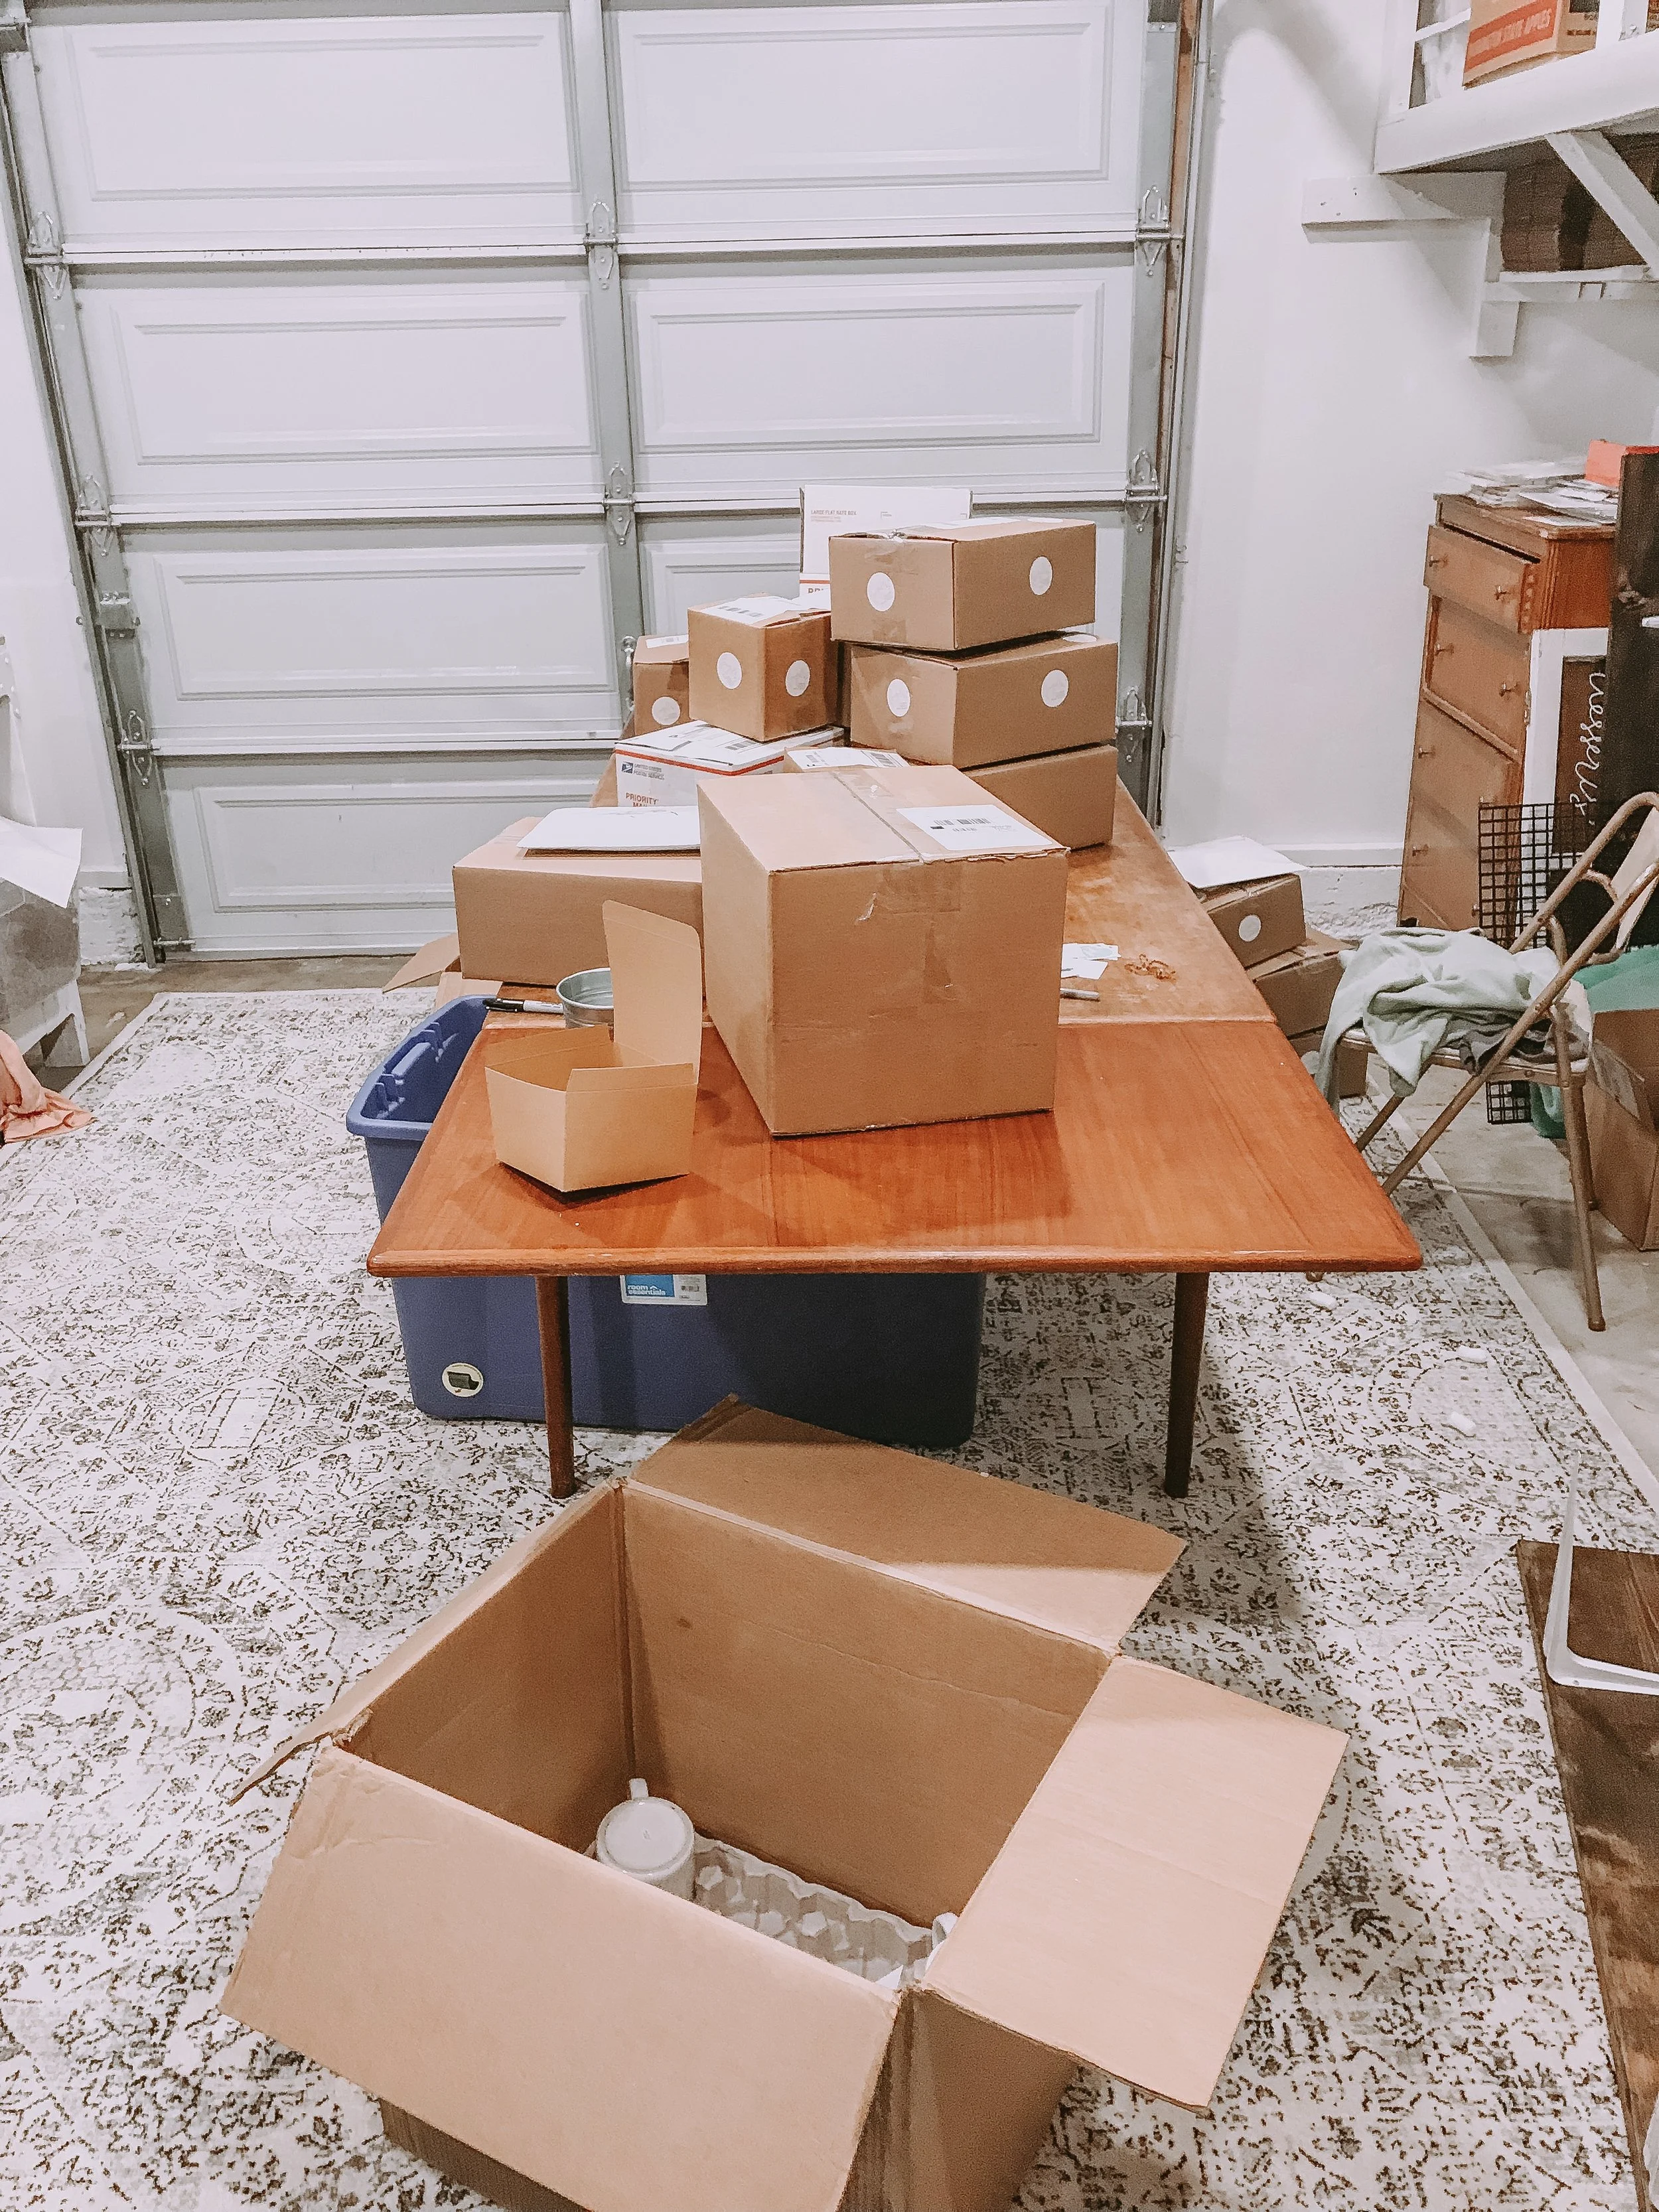
Moving in and setting up. We hung multiple shelves to the left of the workbench and also one above it. We moved the old shelving into the garage to store inventory and are currently using a old dresser to hold apparel. It’s not quite big enough, so we need to find a better solution for this! We also rolled out the rug. I had a wood sign made to hang above the workbench to remind me of how I do this. I slowly moved everything into the space because I wanted to make sure it was organized exactly how I wanted it and didn’t have to move everything around again.
Step eight:
Get to work! It has been absolutely AMAZING to work in this space. I don’t have to be stressed about making noise during naptime--my old office shared a wall with Knox’s room and I can spread out more. No more sitting on the floor in order to package orders. No more clutter and overflowing recycling bins. I was in there the other night and I looked at Joel with the biggest grin on my face and said “this is my happy place.” This new space had brought so much joy and serenity to my work and life and I am so grateful it finally came together!

I had intended to have more photos of a finished space, but our community was hit by a recent wildfire and life turned a little upside down. These photos are from a couple hours we were home in between leaving twice to escape fire and smoke. It’s a mess, the shelves aren’t all hung, and the wood sign I am getting made isn’t hung up. Progress, not perfection.